
Let me tell you something. The moment I figured out I could make bakery-quality donuts at home — without a deep fryer, without a culinary degree, and without spending six dollars on a single donut — everything changed.
These Easy Chocolate Cake Donuts with Vanilla Glaze have become one of my most requested recipes, and once you make them, you'll understand why.
I developed this recipe on a lazy Saturday morning when I was craving something chocolatey and indulgent but had absolutely no intention of leaving the house. I had a donut pan sitting in the back of my cabinet that I had used maybe twice, a pantry full of baking basics, and a plan.
Thirty minutes later I had a batch of the most beautiful, rich, deeply chocolatey donuts sitting on my counter with vanilla glaze dripping down the sides. My family thought I had gone out and picked them up. I did not correct them immediately. :/
These donuts are baked, not fried, which means less mess and honestly a better texture for a cake donut. Dense, moist, with that tight crumb you expect from a proper cake donut — and that vanilla glaze on top takes them completely over the edge. Let's make some donuts.
For the chocolate donuts:
For the vanilla glaze:
Preheat your oven to 350°F (175°C). Grease your donut pan thoroughly with non-stick cooking spray or melted butter. Make sure you get into all the edges and the center post of each cavity.
Even with a non-stick pan, greasing is non-negotiable. Skipping this step is how you end up with half a donut stuck to the pan, and that is a genuinely heartbreaking experience.
In a large mixing bowl, whisk together the flour, cocoa powder, baking powder, baking soda, salt, and espresso powder until fully combined.
Add both sugars and whisk again. Combining the sugars with the dry ingredients at this stage helps them distribute more evenly throughout the batter.
In a separate smaller bowl or large measuring cup, whisk together the eggs, buttermilk, vegetable oil, and vanilla extract until smooth and fully combined.
Make sure your eggs are at room temperature before mixing. Cold eggs can cause the oil to seize slightly and you'll end up with an uneven batter.
Pour the wet ingredients into the dry ingredients and stir gently with a spatula until just combined. Stop mixing as soon as you no longer see dry streaks of flour.
This is important — overmixing develops gluten and gives you tough, rubbery donuts. A few small lumps in the batter are completely fine and actually a good sign that you haven't overworked it.
Transfer the batter into a piping bag or a zip-lock bag with one corner snipped off. Pipe the batter into each donut cavity filling each one about two-thirds of the way full.
FYI — the piping bag method is genuinely the cleanest and easiest way to fill a donut pan. Spooning the batter in works too but you'll spend an extra five minutes cleaning up.
Place the pan in the preheated oven and bake for 12 to 14 minutes. The donuts are done when the tops spring back lightly when touched and a toothpick inserted into the thickest part comes out clean.
Do not overbake these. A minute or two past done and your donuts go from moist and tender to dry and disappointing very quickly. Start checking at 12 minutes.
Remove the pan from the oven and let the donuts cool in the pan for 5 minutes before turning them out onto a wire cooling rack.
Let them cool completely before glazing — and I mean completely. A warm donut will absorb the glaze instead of letting it set on top, and you'll lose that beautiful glossy finish.
While the donuts cool, whisk together the sifted powdered sugar, vanilla extract, salt, and three tablespoons of milk until smooth and glossy. Add more milk a teaspoon at a time until you reach a consistency that coats the back of a spoon but still has some flow to it.
Taste the glaze. It should be sweet, vanilla-forward, and just slightly salty. Adjust as needed.
Dip the top of each cooled donut face-down into the glaze, letting it sit for a second before lifting it out. Give it a gentle twist as you lift to let any excess glaze drip off cleanly.
Place the glazed donuts back on the wire rack glaze-side up and let the glaze set for about 10 minutes before serving. Try to wait the full ten minutes. It's worth it.
Room temperature: Store glazed donuts in an airtight container at room temperature for up to 2 days. Place a sheet of parchment paper between layers to prevent the glaze from sticking.
Refrigerator: You can refrigerate them in an airtight container for up to 4 days but bring them to room temperature before eating. Cold cake donuts lose some of their texture.
Freezer: Freeze the donuts unglazed for best results. Place them in a single layer on a baking sheet to freeze solid, then transfer to a freezer bag for up to 2 months. Thaw at room temperature and glaze fresh before serving.
Reheating: Pop an unglazed donut in the microwave for 10 to 15 seconds to refresh it. Do not microwave a glazed donut — the glaze melts into a sticky mess and the texture suffers.
Pro tip: The donuts taste best on day one but the chocolate flavor actually deepens slightly overnight. Day two donuts are an underrated experience.
If you have been telling yourself that homemade donuts are too complicated or too much work, this recipe is here to prove you wrong. Easy Chocolate Cake Donuts with Vanilla Glaze are the kind of thing you make once and then add to your permanent rotation — that's just how it goes.
Kip out here turning Saturday mornings into something worth waking up early for. Give these a try, share them with the people you love, and tell me how they turned out in the comments. And if you are always looking for recipes that are quick, comforting, and surprisingly impressive — you already know where home is.
With gratitude, Kip
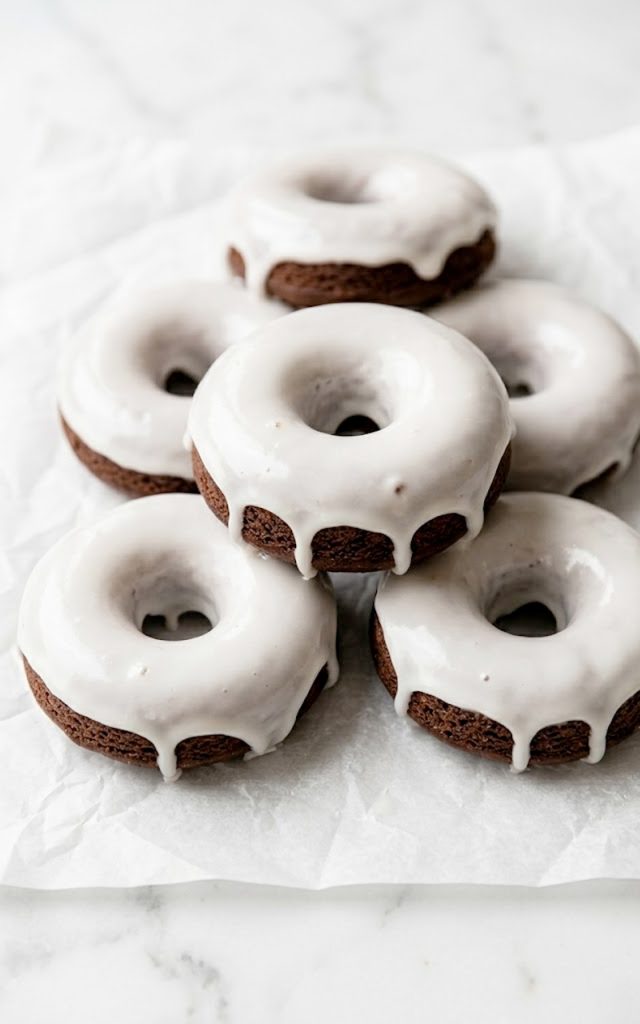
Dense, moist, and deeply chocolatey baked cake donuts topped with a sweet vanilla glaze. Made with simple pantry ingredients and ready in under 30 minutes, these are the kind of homemade donuts that make your whole kitchen smell like a bakery.