

Sometimes you need dinner on the table fast, and sometimes you just want pizza. These Pita Pizzas solve both problems at once. We’re talking crispy, golden pita bread topped with your favorite pizza sauce, melted cheese, and whatever toppings make you happy—all ready in about 15 minutes from start to finish.
The beauty of pita pizzas is their simplicity and speed. You skip the whole making-dough thing, the waiting-for-it-to-rise thing, and the rolling-out-the-crust thing. Instead, you grab pita bread (which you probably already have or can pick up at any grocery store), top it like a regular pizza, and bake it until the cheese is bubbly and the edges are crispy. It’s pizza night without any of the usual hassle.
I started making these pita pizzas on those nights when my kids were demanding pizza but I had no time (or desire) to order delivery or make traditional pizza dough. That first time I pulled these out of the oven, with their crispy edges and melted cheese, everyone was shocked at how good they were. They’ve been a weekly staple ever since. The individual size means everyone can customize their own, which eliminates the usual pizza topping negotiations.
Whether you’re feeding hungry kids who need dinner fast, hosting a pizza party where everyone builds their own, meal prepping for the week, or just craving pizza without the commitment, these pita pizzas are about to become your new go-to. They’re foolproof, fun, and genuinely delicious.
Why These Pita Pizzas Are Absolutely Perfect
I’ve tried a lot of quick pizza alternatives over the years, and pita pizzas consistently deliver the best results with the least effort. Here’s why they’re so good.
Lightning Fast
Fifteen minutes. That’s genuinely all the time you need from start to finish. Five minutes to prep and top your pitas, ten minutes in the oven, and you’re eating hot, fresh pizza. There’s no waiting for dough to rise, no preheating a pizza stone for an hour, no complicated techniques. Just assemble and bake. It’s faster than ordering delivery and definitely faster than making traditional pizza from scratch. Perfect for those nights when everyone’s hungry and you need food now.
Crispy and Delicious
Here’s the thing people don’t expect—pita pizzas actually get really crispy. That pita bread crisps up beautifully in the oven, creating a thin, crunchy crust that’s sturdy enough to hold your toppings but light enough to not feel heavy. The edges get golden and slightly charred, the bottom gets crispy, and the cheese gets all bubbly and melted. IMO, the texture is actually better than a lot of thick, doughy pizzas. It’s more like a really good flatbread pizza from a fancy restaurant.
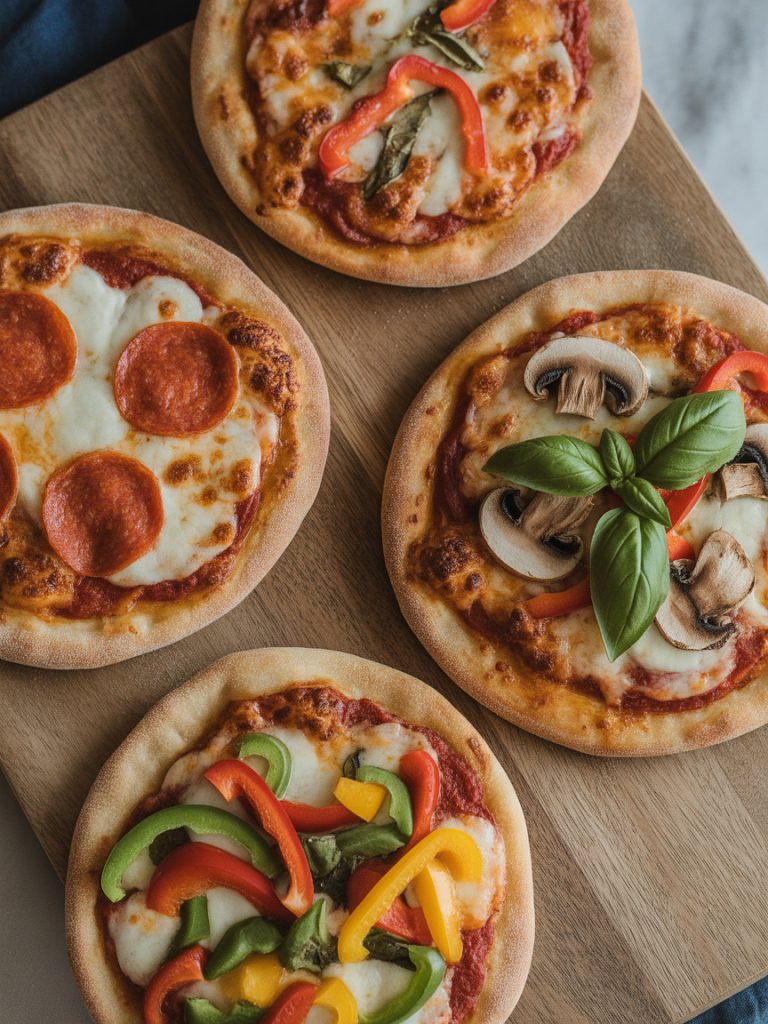
Endlessly Customizable
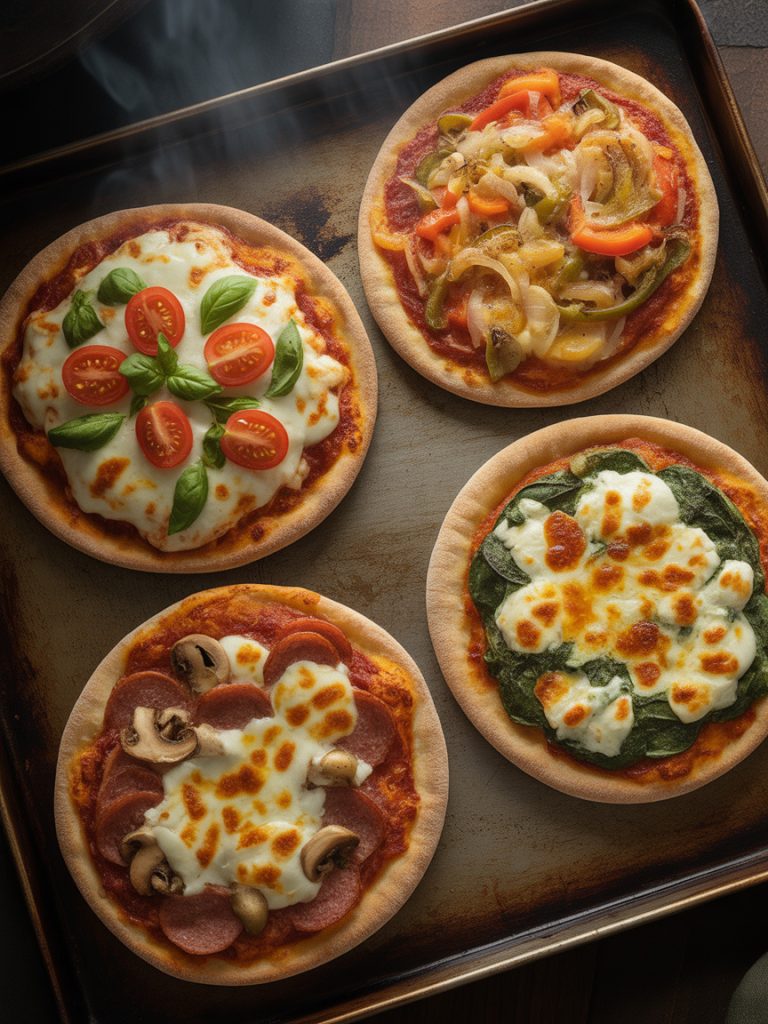
This is where pita pizzas really shine. Each pita is an individual pizza, which means everyone can have exactly what they want. One person wants pepperoni? Done. Someone else is vegetarian? No problem. Got a picky eater who only likes cheese? They’re covered. You can make four completely different pizzas in the same amount of time it takes to make one regular pizza. No more arguing about toppings, no more picking things off, just personalized pizzas for everyone.
Perfect for Kids and Parties
Kids absolutely love making their own pita pizzas. It’s a fun, hands-on activity that gets them involved in cooking and eating what they made. For parties, set up a pizza bar with pitas, sauce, cheese, and various toppings—let everyone build their own. It’s interactive, fun, and way less stressful than trying to make traditional pizzas for a crowd. Plus, the individual serving size means no fighting over slices or dealing with different preferences.
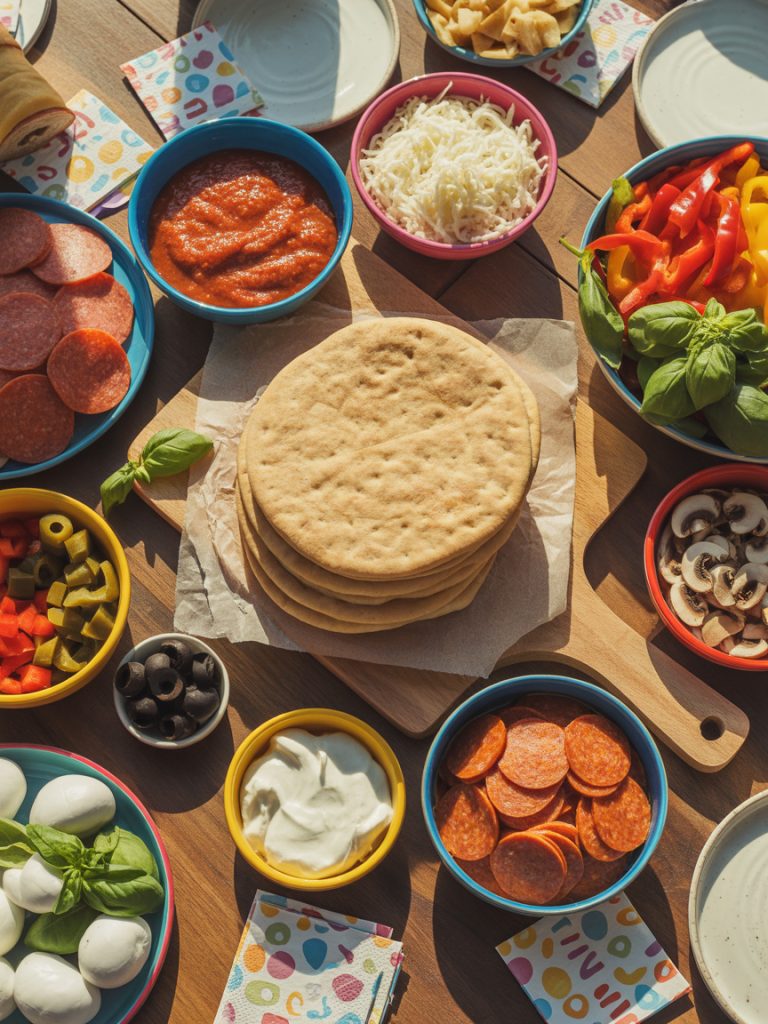
Your Simple Ingredient Checklist
The ingredient list is incredibly short and flexible. Use this as a starting point, then customize with whatever toppings you love or have available.

The Ingredient Lineup:
For the Base:
- 4 pita breads (regular or whole wheat, 6-8 inch size)
- 1 cup pizza sauce or marinara sauce
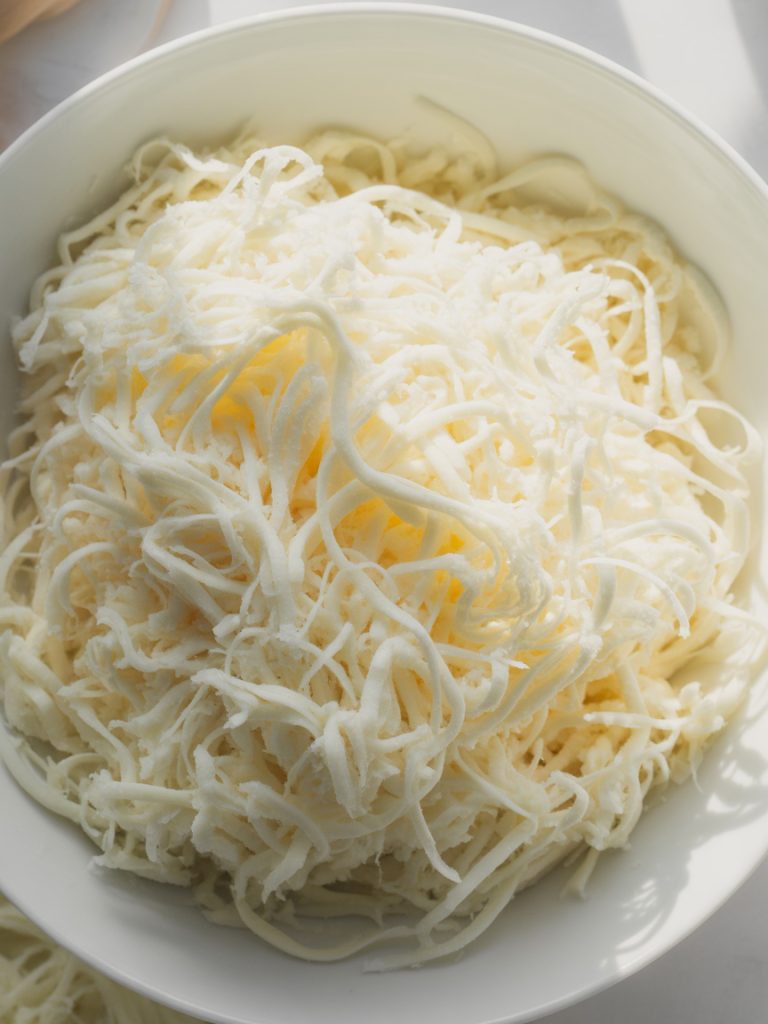
- 2 cups shredded mozzarella cheese
Classic Topping Options:
- Pepperoni slices
- Italian sausage (cooked and crumbled)
- Bell peppers (sliced)
- Mushrooms (sliced)
- Red onion (thinly sliced)
- Black olives (sliced)
- Fresh basil leaves
- Cherry tomatoes (halved)
- Jalapeños (sliced)
For Finishing:
- Olive oil (for brushing edges)
- Italian seasoning
- Red pepper flakes
- Grated parmesan cheese
Ingredient Tips and Substitutions:
Pita Bread: Regular pocket pita works great—you can use it as-is (it’ll puff up slightly) or split it in half to create two thinner crusts (this makes them extra crispy). Whole wheat pita is a healthier option. Greek pita, which is thicker and doesn’t have a pocket, works beautifully too. You want pitas that are about 6-8 inches in diameter—personal pizza size. If your pitas are stale or a day old, even better—they’ll crisp up more. Fresh pitas work fine too, just expect them to be slightly softer.

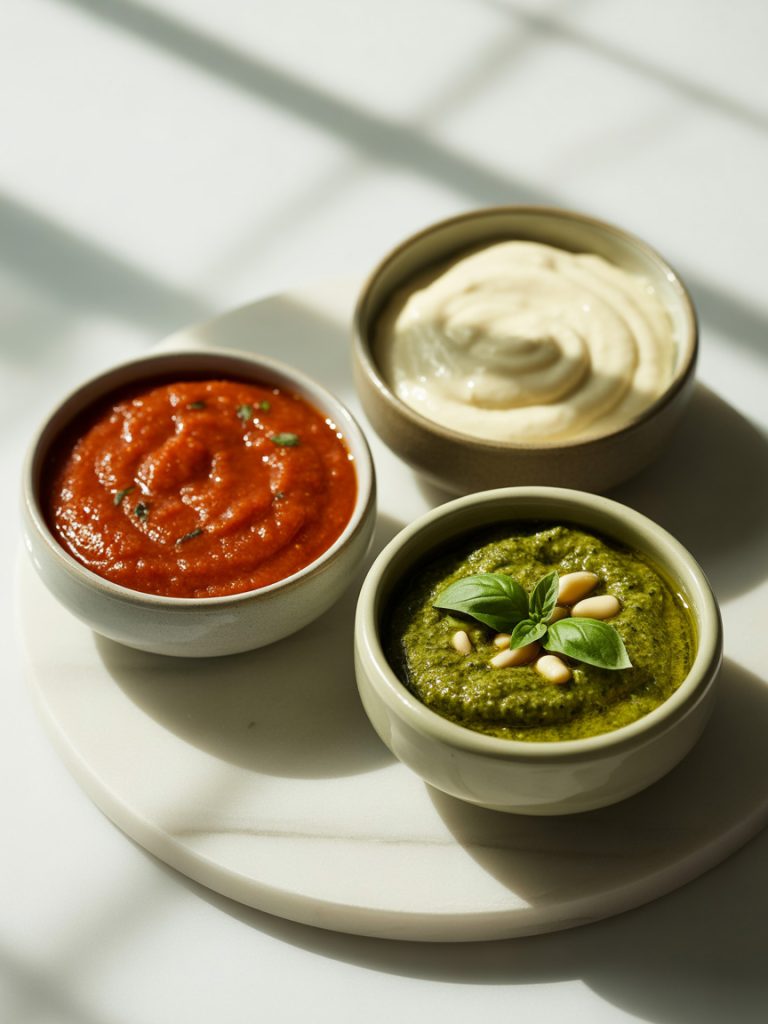
Pizza Sauce: Use your favorite jarred pizza sauce or marinara. If you like things simple, even plain tomato sauce with some Italian seasoning works. For a Greek twist, use olive oil and garlic instead of tomato sauce. Some people like pesto as a base—totally works. You need about ¼ cup of sauce per pita, but adjust based on how saucy you like your pizza. Less sauce = crispier crust.
Cheese: Mozzarella is classic for pizza—it melts beautifully and has that perfect stretchy quality. Pre-shredded is convenient and works fine. Freshly shredded from a block melts better but takes more time. For extra flavor, mix in some cheddar, provolone, or parmesan. For Greek-style, use feta cheese. For vegan, use dairy-free mozzarella alternatives.
Toppings: This is where you can really make these your own. Any pizza topping works on pita pizzas. Pre-cook meats like sausage or ground beef before adding. Vegetables can go on raw (they’ll cook in the oven), but watery veggies like mushrooms or zucchini are better if you sauté them first to remove excess moisture. Don’t overload the pitas—too many toppings make them soggy. Three to four toppings max works best.
Pepperoni: The classic. Use regular pepperoni or turkey pepperoni for a leaner option. Arrange slices so they overlap slightly—they’ll crisp up beautifully and get those nice crispy edges.
Vegetables: Bell peppers, onions, mushrooms, olives, and tomatoes are all classic. Slice them thin so they cook through in the short baking time. Spinach, arugula, or fresh basil added after baking keeps things fresh.
Fresh Herbs: Fresh basil added after baking is authentic Italian and tastes amazing. Dried oregano or Italian seasoning before baking adds flavor too.
Step-by-Step Cooking Instructions
Alright, let’s make these easy pita pizzas. The process is so straightforward that even kids can do most of it themselves with minimal supervision.
Part 1: Prepare the Pita Bases
Preheat Your Oven: Set your oven to 400°F (200°C) and let it preheat while you prep the pizzas. If you have a baking stone, put it in now to heat up—it’ll make the crust even crispier. If not, a regular baking sheet works perfectly fine.
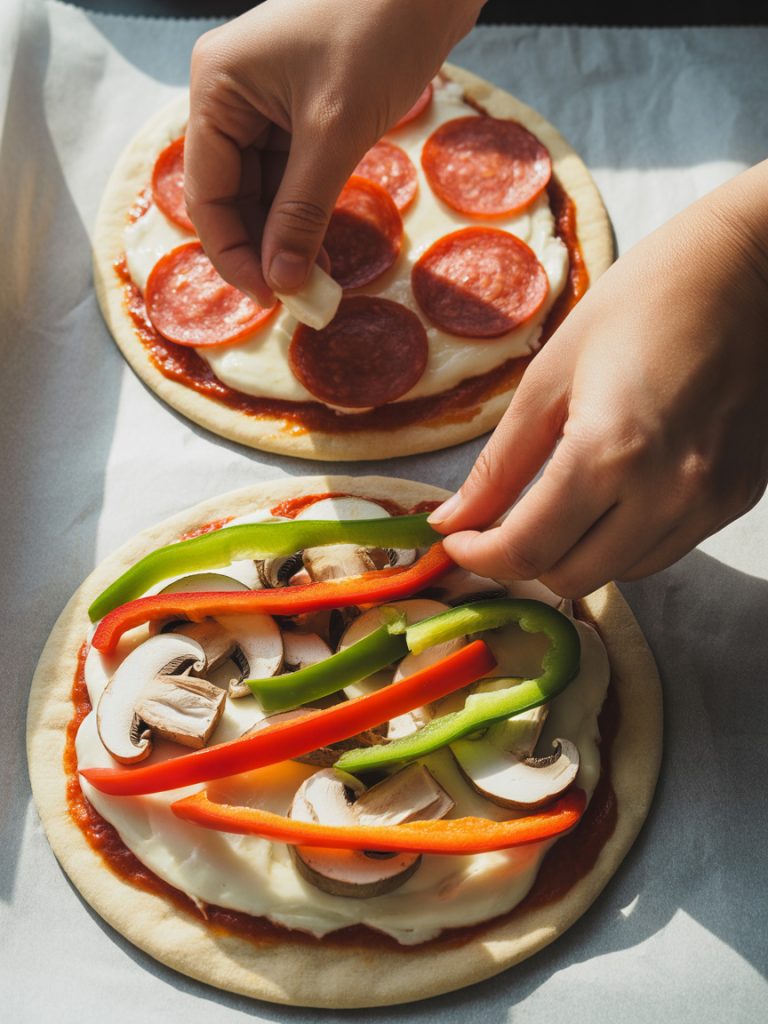
Prepare Your Workspace: Set up an assembly line. Have your pita breads, sauce, cheese, and all your toppings laid out and ready. This makes the assembly process quick and fun. If you’re making these with kids, this is where they can really help—setting out ingredients, spreading sauce, adding toppings.

Prepare the Pitas: Place your pita breads on a baking sheet lined with parchment paper or directly on the baking sheet. You can use them whole (they’ll puff up slightly like a pizza) or split them in half horizontally to create two thinner rounds (these get extra crispy). If splitting, use a sharp knife and carefully cut around the edge, then pull apart into two rounds. Either way works—whole pitas are easier, split pitas are crispier.
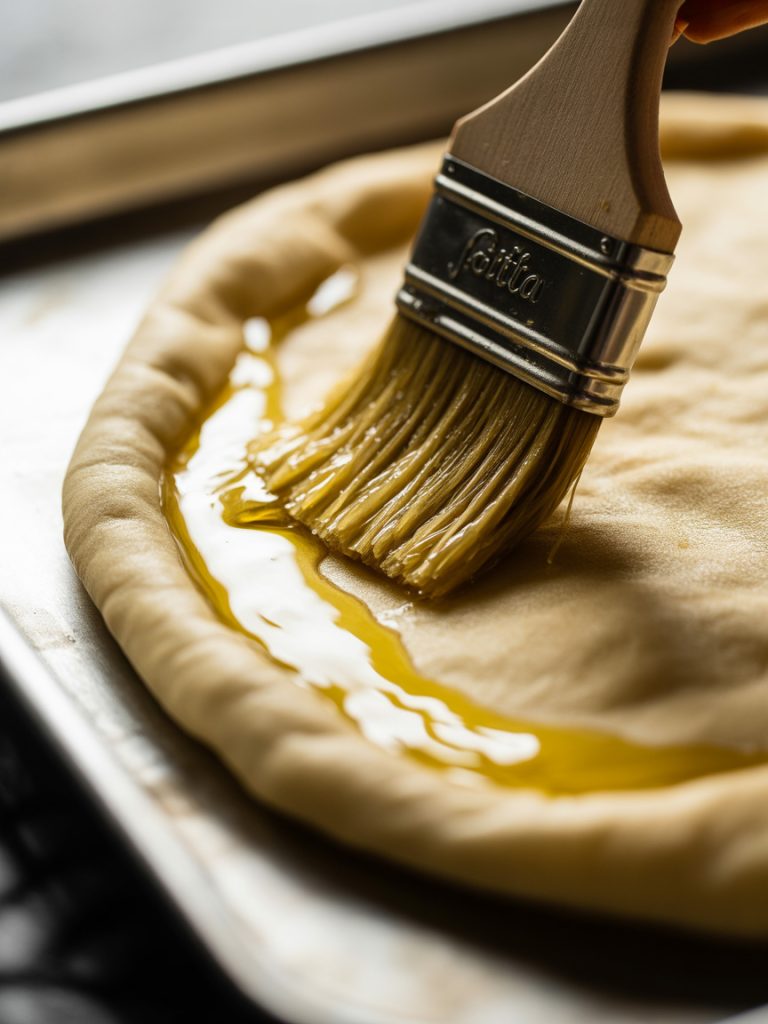
Brush with Olive Oil (Optional): Lightly brush the edges of each pita with olive oil. This helps them get golden and crispy. It’s optional but makes a nice difference in the final texture and flavor.
Toast the Pitas Briefly (Optional): For extra crispy pizzas, put the plain pitas in the oven for 3-4 minutes before adding toppings. This pre-crisps the base and prevents sogginess. Not required, but it’s a good trick if you like things extra crispy.
Part 2: Add Toppings and Bake
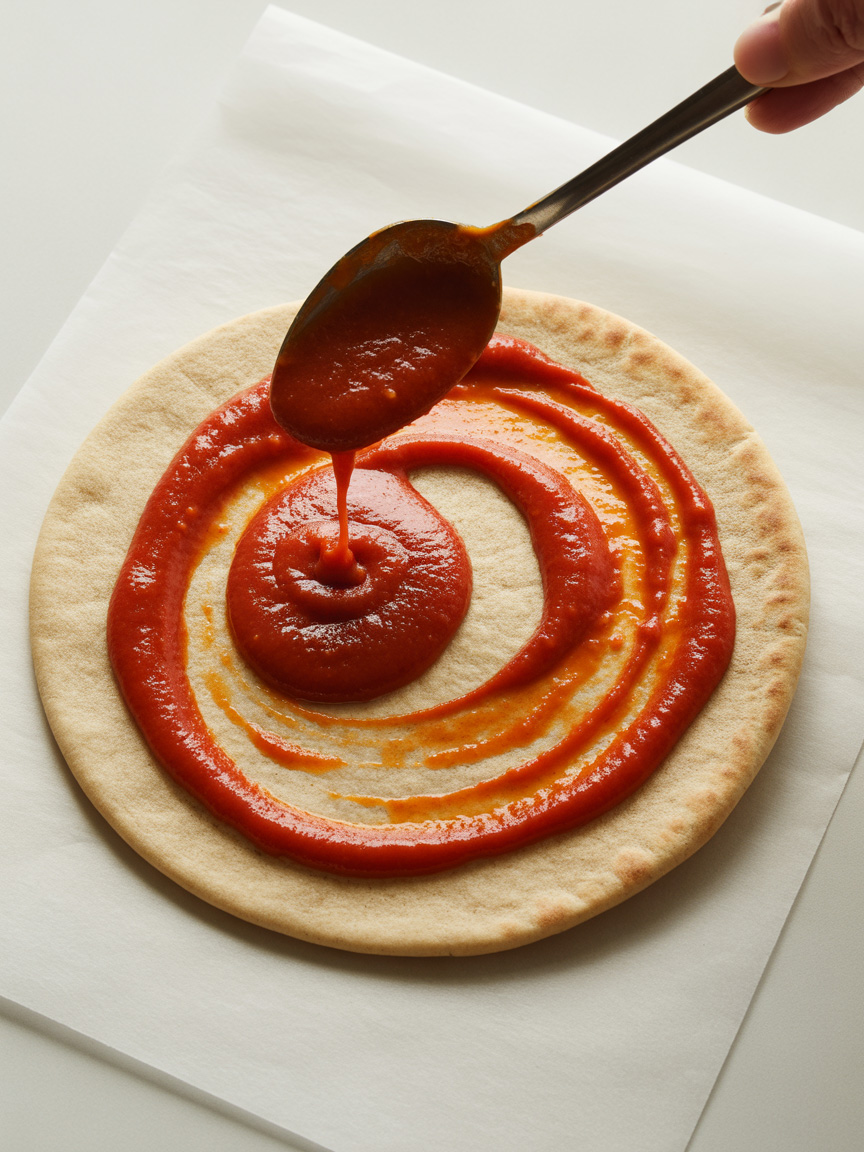
Add the Sauce: Spread about ¼ cup of pizza sauce on each pita, leaving about ½ inch around the edges bare (this becomes your crust). Use the back of a spoon to spread it evenly. Don’t use too much sauce or the pitas will get soggy. A thin, even layer is perfect.
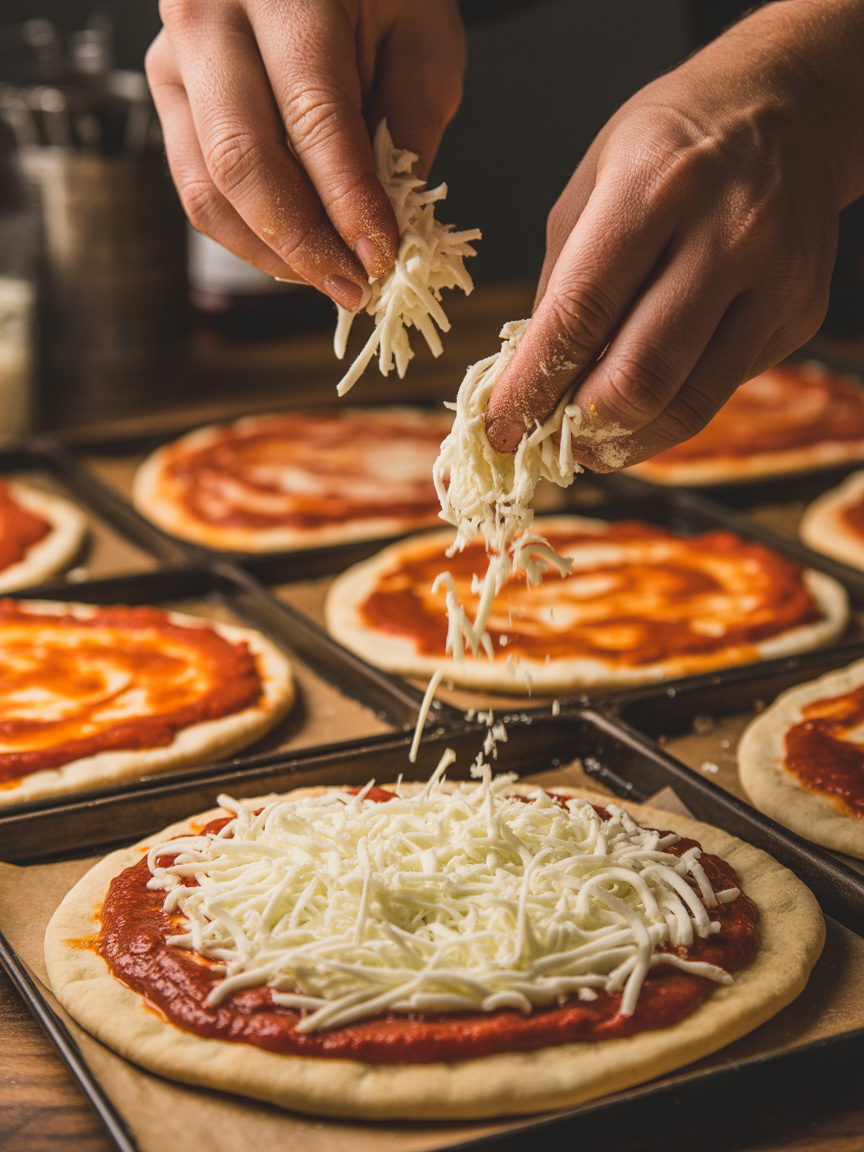
Add the Cheese: Sprinkle about ½ cup of shredded mozzarella over the sauce on each pita. Make sure the cheese covers the sauce evenly. The cheese acts as a barrier between the sauce and toppings, helping everything stay together.

Add Your Toppings: Now comes the fun part. Add whatever toppings you want—pepperoni, vegetables, meats, whatever. Remember not to overload them. Three to four toppings is ideal. Too many toppings means soggy pizzas that don’t cook evenly. Distribute toppings evenly so every bite has some of everything.
Season: Sprinkle a little Italian seasoning, dried oregano, or garlic powder over the top. Add red pepper flakes if you like heat. A tiny drizzle of olive oil over the toppings adds flavor and helps everything cook nicely.
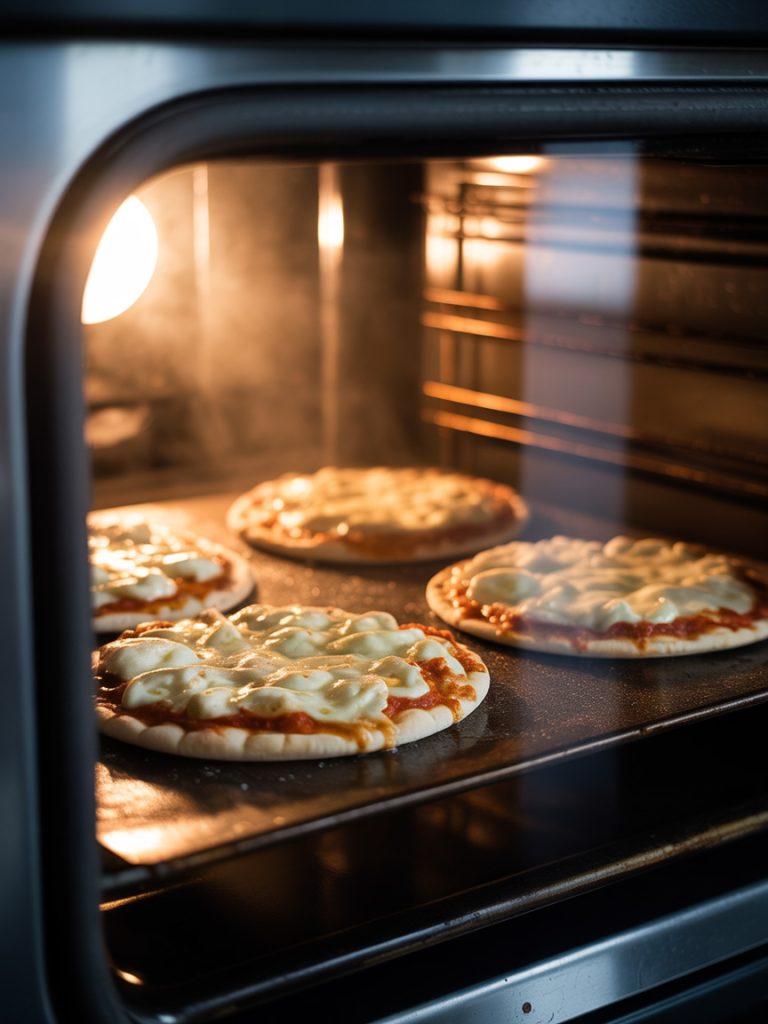
Bake: Place the baking sheet in the preheated oven. Bake for 8-12 minutes, depending on how crispy you like your pizza. Watch them closely—the edges should be golden brown and slightly crispy, the cheese should be melted and bubbly, and any toppings should look cooked. If you want the cheese extra brown and bubbly, turn on the broiler for the last 1-2 minutes, but watch carefully so nothing burns.
Check for Doneness: The pita pizza is done when the edges are golden and crispy, the cheese is melted and starting to brown in spots, and the bottom of the pita is crispy (you can peek at the bottom with a spatula). If the toppings are cooked but the bottom isn’t crispy enough, put it directly on the oven rack for the last minute or two.
Add Fresh Toppings: Remove from the oven and let cool for a minute or two. Add any fresh toppings like basil leaves, arugula, or a drizzle of balsamic glaze. These stay fresh and vibrant when added after baking.
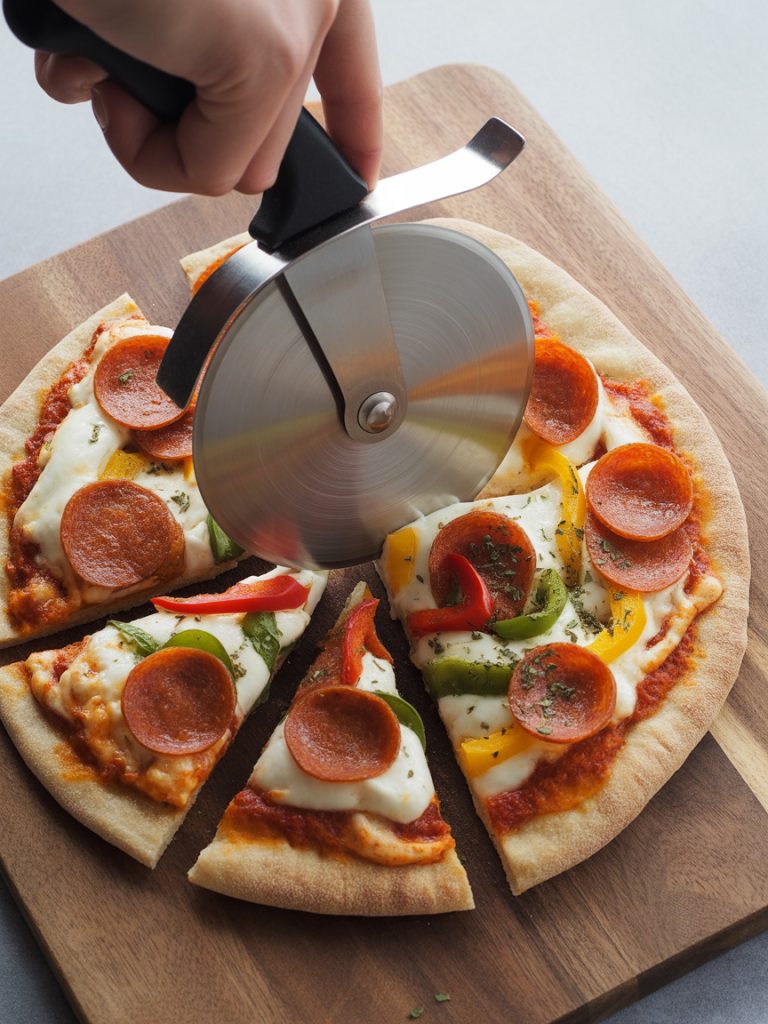
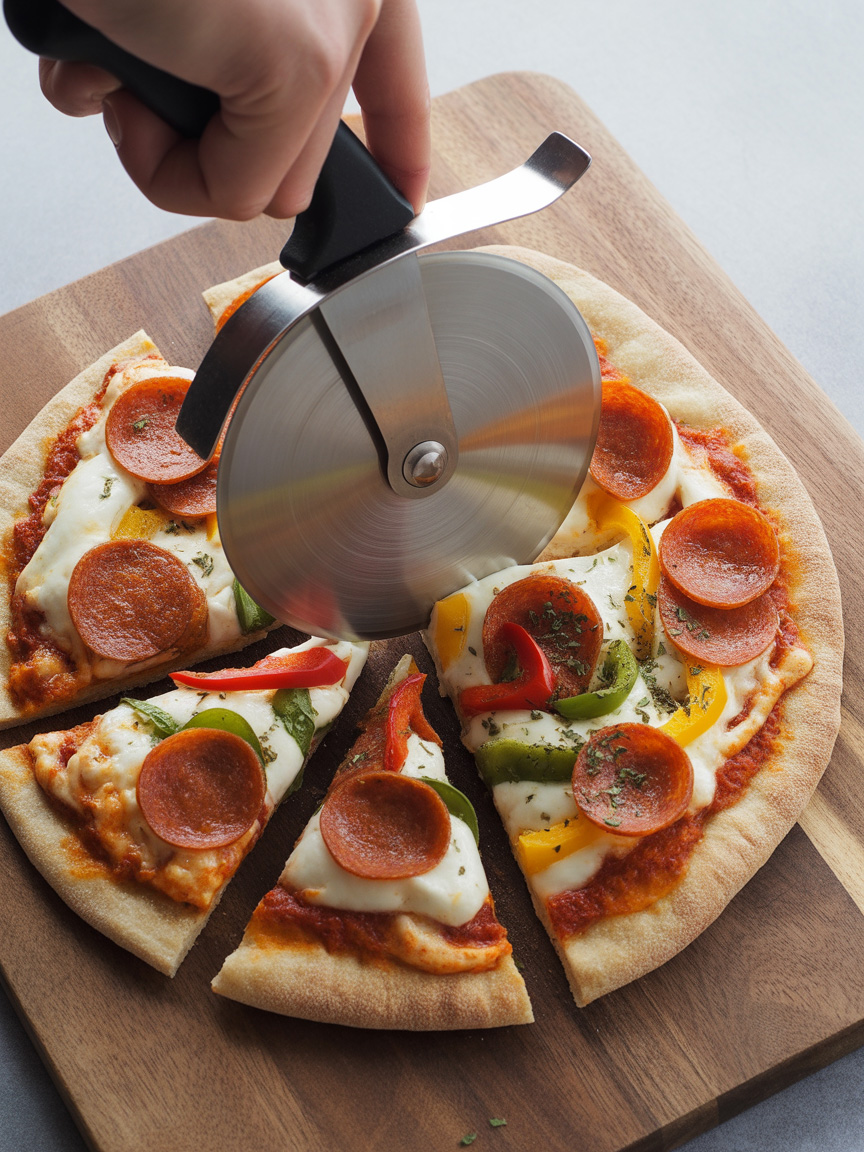
Slice and Serve: Use a pizza cutter or sharp knife to cut each pita pizza into quarters (or eat whole—they’re personal-sized after all). Serve immediately while hot and crispy.
Serving Suggestions
These pita pizzas are complete meals on their own, but here are some ways to round out the meal or create variations:
Classic Pizza Night: Serve with a simple side salad (mixed greens with Italian dressing) and garlic bread sticks. Maybe some marinara for dipping the crusts.
Pizza Party Setup: Create a DIY pizza bar with plain pitas, bowls of sauce, cheese, and various toppings. Let everyone build and customize their own. It’s interactive, fun, and handles different dietary needs and preferences easily.
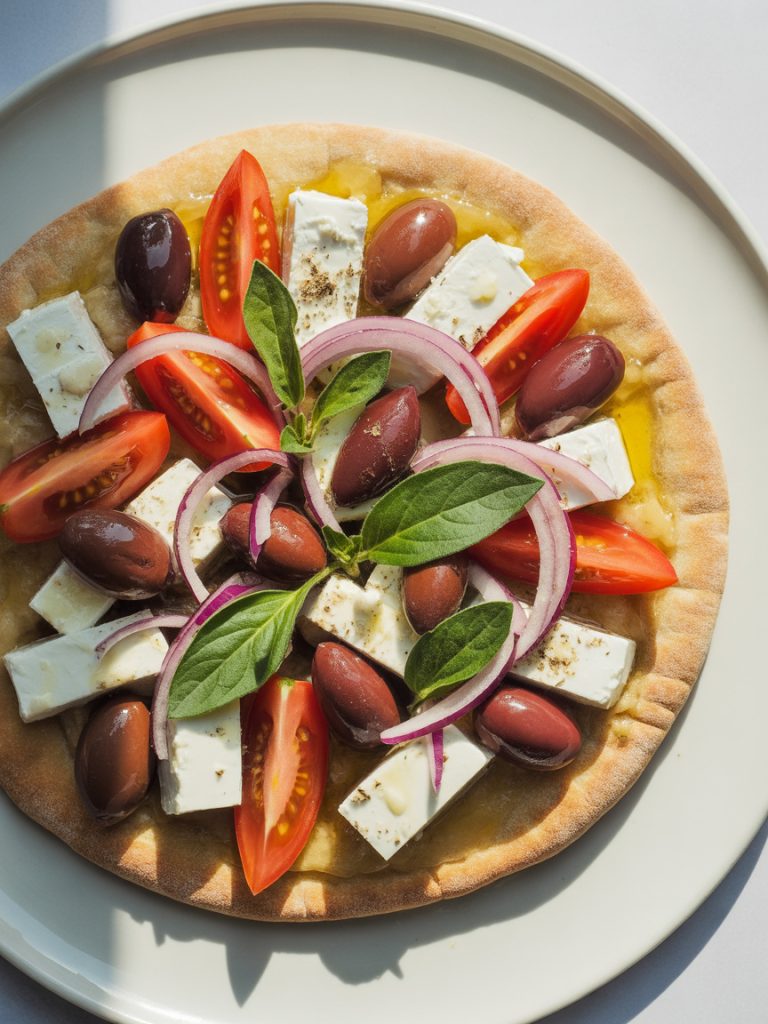
Greek-Style Pita Pizza: Skip the tomato sauce and use olive oil and minced garlic as the base. Top with feta cheese, kalamata olives, cherry tomatoes, red onion, and fresh oregano. Add fresh spinach or arugula after baking.
Breakfast Pita Pizza: Top with scrambled eggs, bacon or sausage, cheese, and maybe some diced bell peppers. Bake until cheese melts. Breakfast pizza sorted.
BBQ Chicken Pita Pizza: Use BBQ sauce instead of pizza sauce. Top with cooked shredded chicken, red onion, cilantro, and a mix of mozzarella and cheddar cheese.

Margherita Pita Pizza: Keep it simple with sauce, fresh mozzarella slices, and fresh basil leaves. Drizzle with olive oil and add sea salt after baking.
White Pizza: Skip the tomato sauce. Brush pita with olive oil and garlic, top with ricotta cheese, mozzarella, and fresh herbs. Add spinach or arugula after baking.
Closing
These Pita Pizzas are one of those recipes that solves so many dinner dilemmas at once. Need something fast? Fifteen minutes. Need something kids will eat? They’ll love making their own. Need to accommodate different preferences and dietary restrictions? Everyone customizes their own. Need something actually delicious and not just convenient? These genuinely taste great.
I love how this recipe takes the stress out of pizza night. No dough making, no delivery wait times, no arguing over toppings. Just quick, easy, customizable pizzas that everyone enjoys. The fact that they’re actually crispy and delicious rather than just a sad substitute for “real” pizza makes them a genuine win.
Whether you’re feeding hungry kids, hosting a pizza party, meal prepping for quick lunches, or just want a fast dinner that feels special, these pita pizzas deliver. Make them once and I guarantee they’ll become part of your regular rotation. They’re just that easy and that good.
Enjoy your crispy, customizable pita pizzas! 😊
Pita Pizzas: A Quick & Fun 15-Minute Dinner
Description
Crispy pita bread topped with pizza sauce, melted cheese, and your favorite toppings, baked until golden and bubbly. These individual pizzas are perfect for quick meals, customizable for everyone's preferences, and ready in minutes.
Ingredients
Instructions
-
Preheat oven to 400°F (200°C). Line baking sheet with parchment paper.
-
Place pita breads on baking sheet. Optionally brush edges with olive oil.
-
Spread ¼ cup pizza sauce on each pita, leaving ½-inch border around edges.
-
Sprinkle ½ cup mozzarella cheese over sauce on each pita.
-
Add desired toppings. Don't overload—3-4 toppings per pizza works best.

-
Sprinkle with Italian seasoning and red pepper flakes if using.
-
Bake for 8-12 minutes until edges are golden, cheese is melted and bubbly, and toppings are cooked.

-
Optional: Broil for 1-2 minutes at the end for extra crispy, browned cheese. Watch carefully.

-
Remove from oven and let cool 1-2 minutes. Add fresh basil or other fresh toppings if desired.
-
Slice into quarters with pizza cutter or serve whole. Enjoy immediately.
Note
Crispy Crust: For extra crispy pizzas, split pitas in half horizontally or pre-toast plain pitas for 3-4 minutes before adding toppings.
Toppings: Pre-cook meats before adding. Don't overload with toppings or pizzas will be soggy.
Freezing: Assemble uncooked pita pizzas, wrap individually in plastic wrap, freeze for up to 2 months. Bake from frozen, adding 3-5 minutes to cooking time.
Storage: Best eaten fresh. Leftovers can be refrigerated for up to 2 days and reheated in oven or toaster oven.
Make Ahead: Prepare and top pitas up to 4 hours ahead, refrigerate, then bake when ready.
